
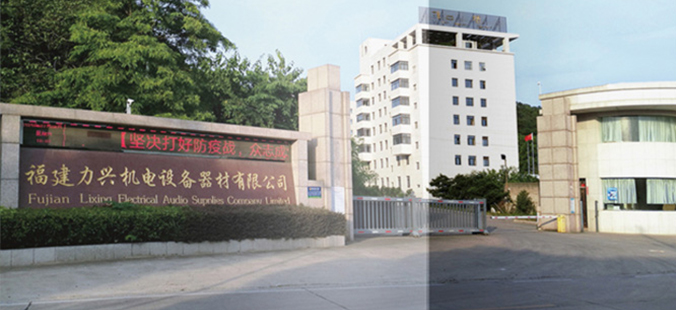
福建力興機電設備器材有限公司
熱鍍鋅加工生產廠家
 定制熱線:
定制熱線:
135-9997-9935
+
 微信號:聯系方式(頭部)(微信)
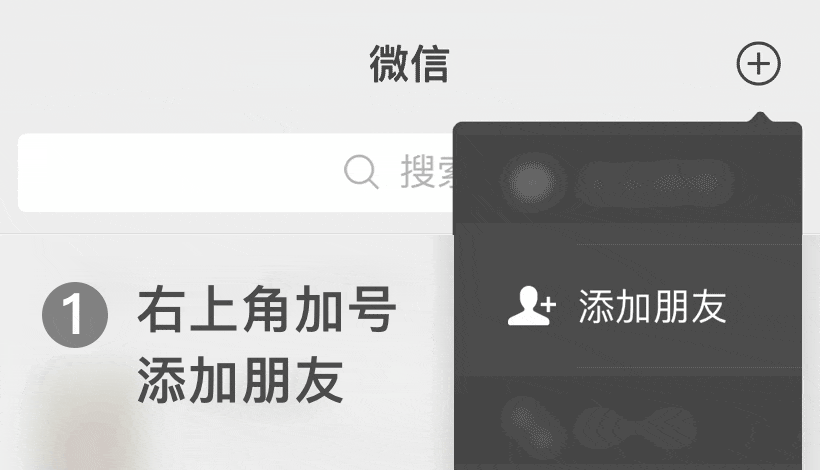
微信號:聯系方式(頭部)(微信)
熱鍍鋅加工生產廠家
定制熱線:
微信號:聯系方式(頭部)(微信)
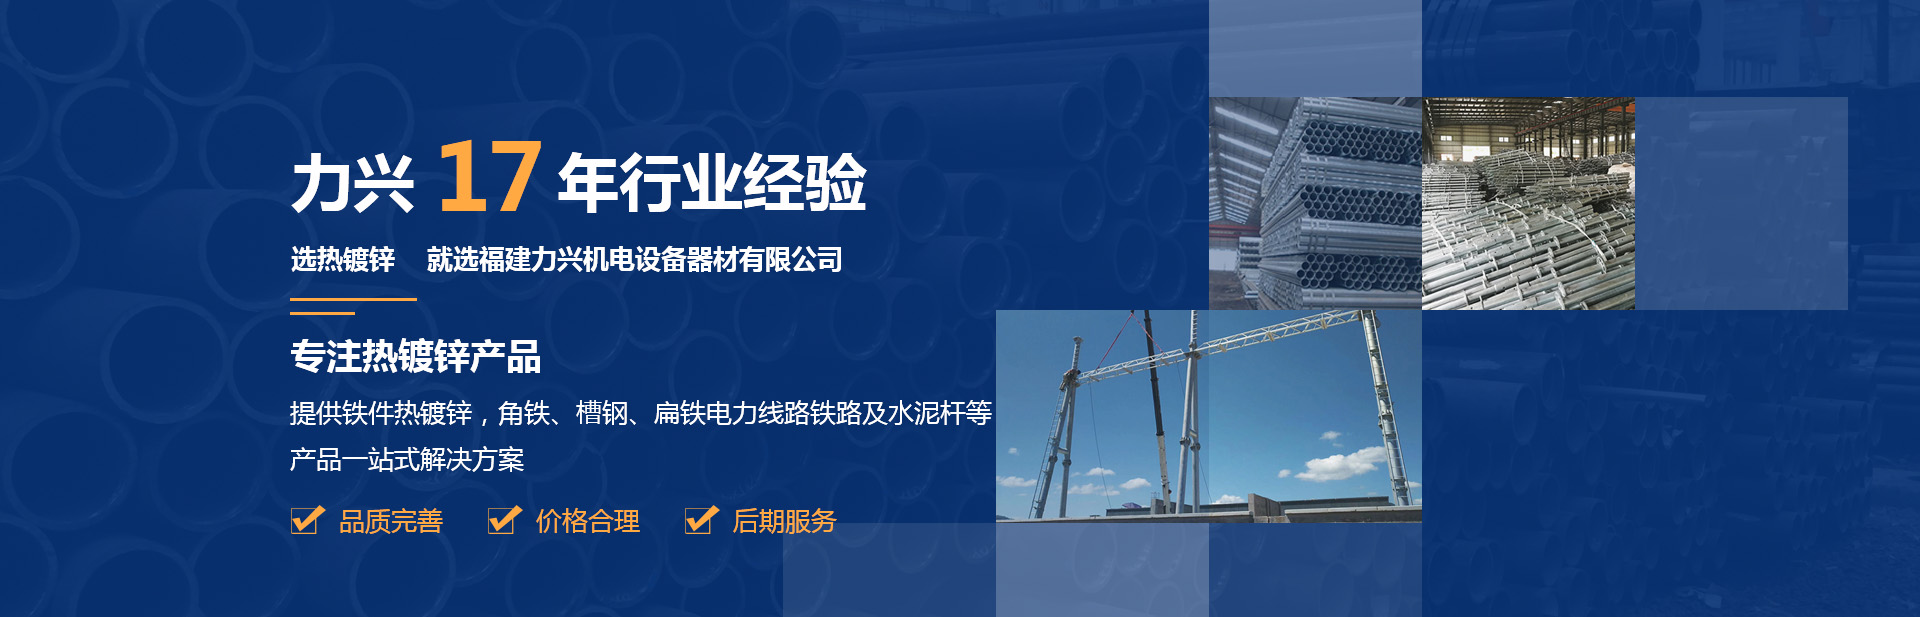


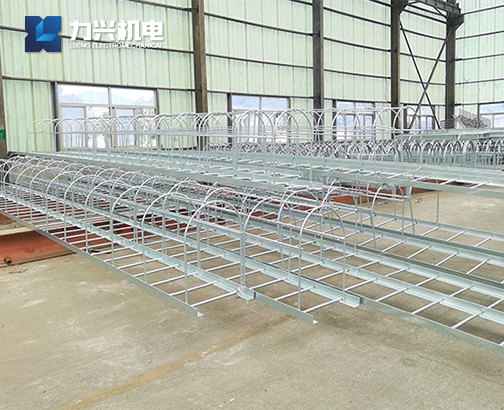
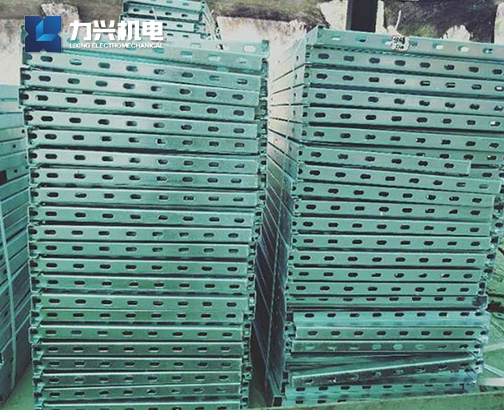
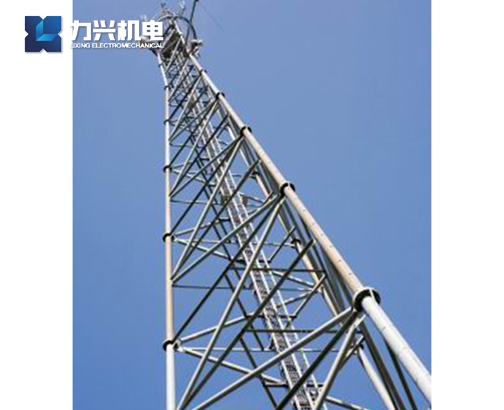
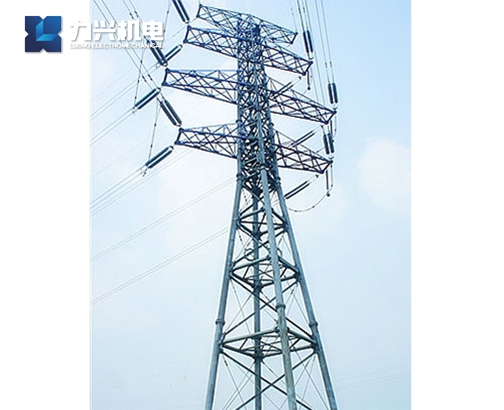
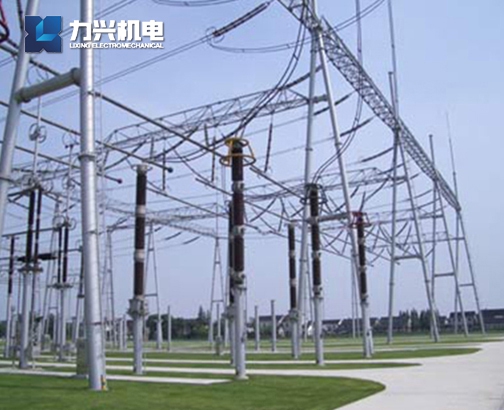
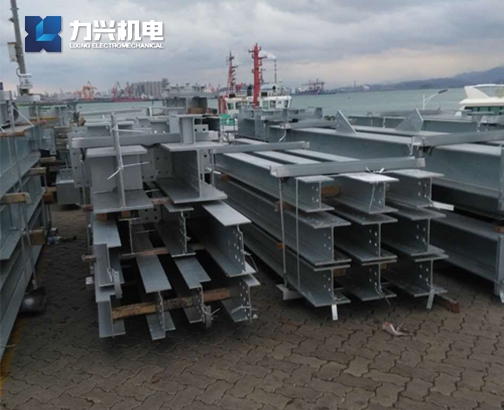
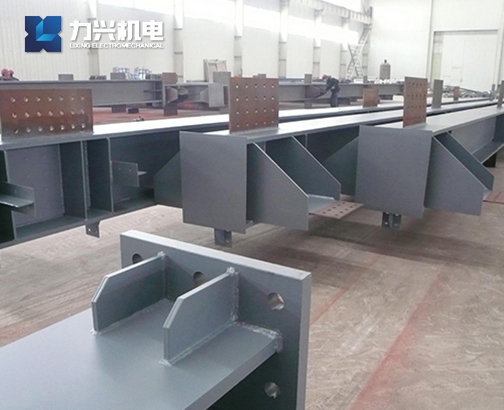
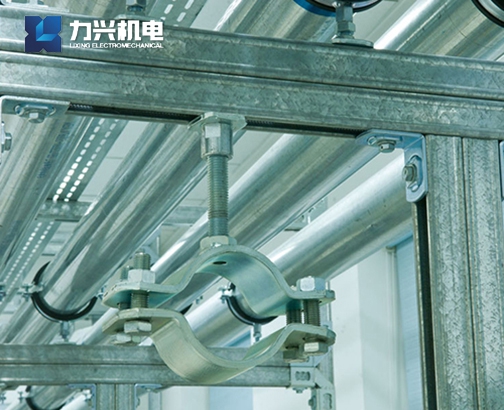
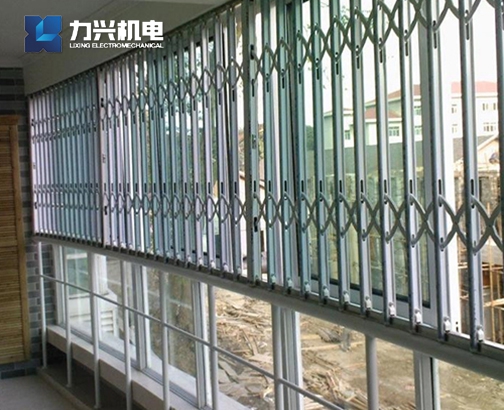
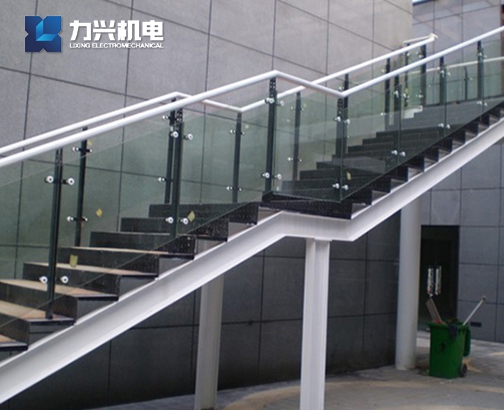
提供鐵件熱鍍鋅、角鐵、槽鋼、扁鐵電力線路鐵路及水泥桿等產品一站式解決方案

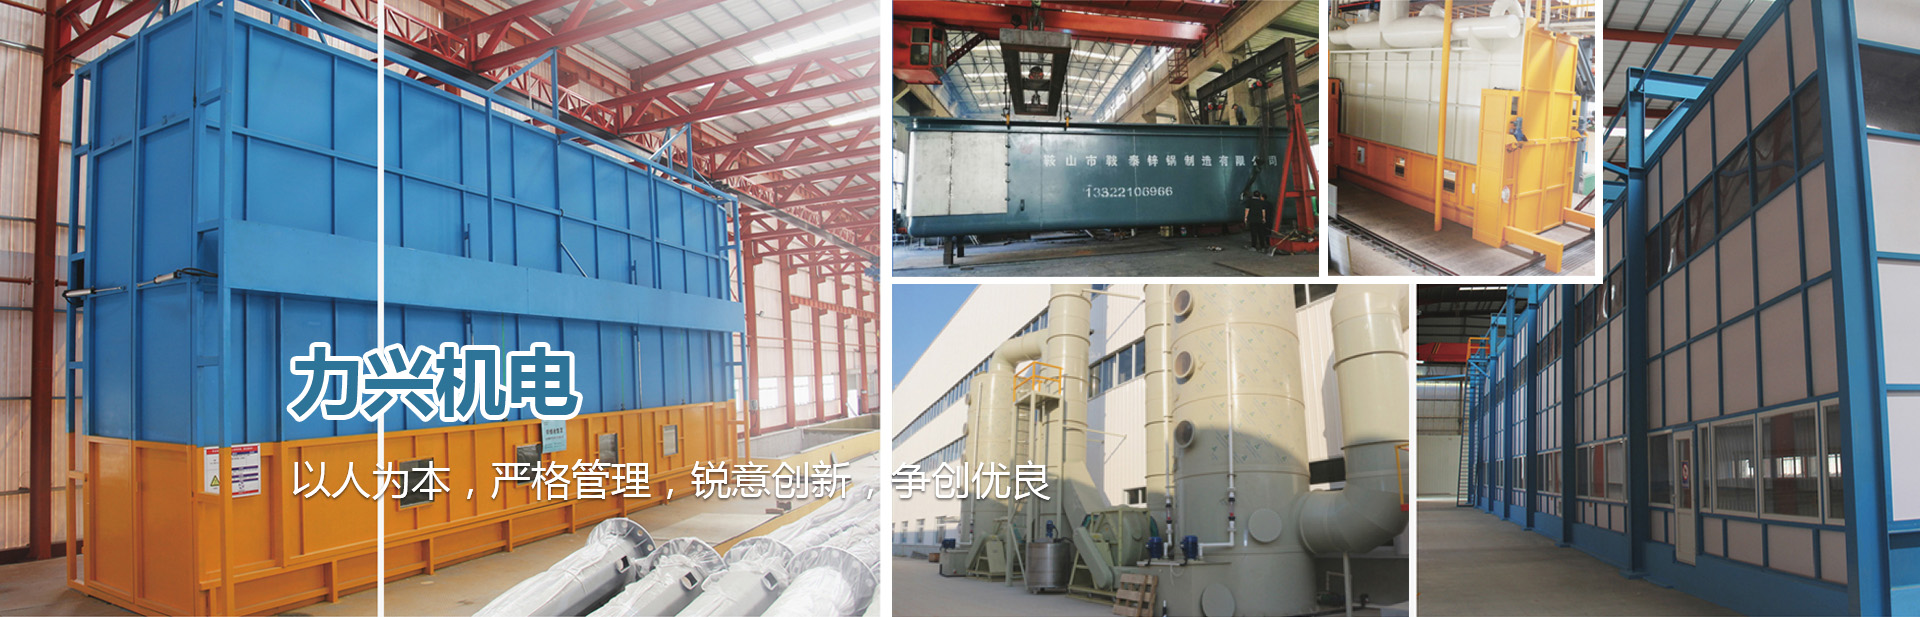
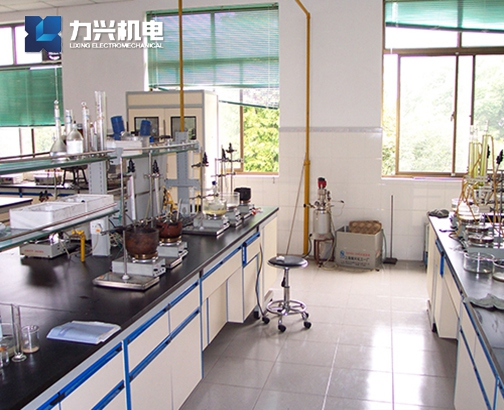
企業占地面積150畝,現有職工60多人,總建筑面積達45000m,總固定資產達1.2億元

具有年熱鍍鋅鐵件7萬噸以上,產值達9千萬元的生產能力

公司下設3個生產車間,配置了垂直精干的管理部門

公司擁有達標污水、廢氣環保設施,各項環評指標均達到相關要求,并取得排污許可證

公司擁有六座生產廠房,二臺分別為長13.5m (省內較長) ,7m的熱鍍鋅鍋及各類相關設備

產品遠銷國內外50多個國與地區,深受客戶信賴
擁有售前到售后服務團隊,提供完善的一站式解決方案
為客戶不同產品所需提供定制服務及解決方案
按需定制,全方面滿足需求

5%

18%

36%

56%

78%

90%

100%

100+%

提供熱鍍鋅產品一站式加工服務
熱鍍鋅是一種常用的防腐蝕處理工藝,廣泛應用于鋼材的表面處理,以提高其耐腐蝕性和使用壽命。熱鍍鋅的過程主要是將鋼材浸入熔融鋅中,使鋅與鋼材表面發生反應,形成一層致密的鋅層。
在福州,熱鍍鋅加工的廠家有很多,選擇合適的廠家需要考慮多個因素,包括生產能力、技術水平、服務質量、價格以及客戶口碑等。以下是一些在福州地區較為知名的熱鍍鋅加工廠家,供您參考。
在福州,熱鍍鋅加工是一項重要的金屬防腐處理工藝,廣泛應用于建筑、橋梁、交通設施等領域。為了確保熱鍍鋅加工的交貨及時,廠家需要采取一系列有效的措施。以下是一些關鍵策略:
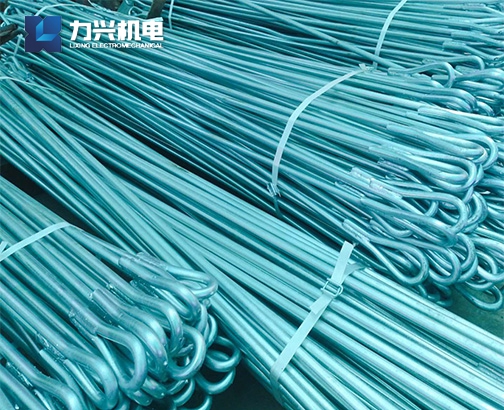
熱鍍鋅加工是指將鋼材浸入熔融鋅液中,使其表面形成一層鋅鍍層的過程。這一工藝在鋼材的防腐和耐久性方面具有顯著的優勢,廣泛應用于建筑、橋梁、車輛、管道等多個領域。
熱鍍鋅處理中,鋼材表面涂覆一層鋅,主要是為了提高其防腐蝕能力,從而延長鋼材的使用壽命。這一工藝在現代工業中廣泛應用,尤其是在建筑、橋梁、汽車等領域。以下是鋼材進行熱鍍鋅處理的幾個主要原因:
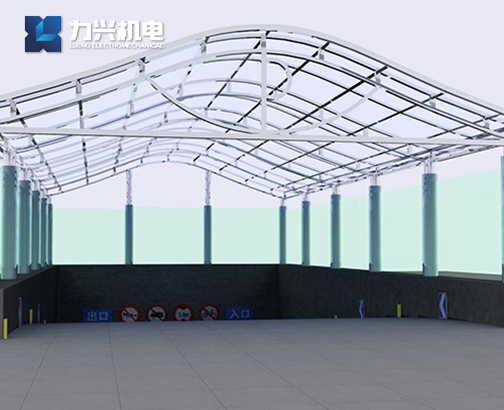
福建熱鍍鋅鋅鋼護欄是一種廣泛應用于道路、橋梁、園區等場所的安全防護設施,其加工原理主要包括鋅鋼材料的選擇、熱鍍鋅工藝的實施以及護欄的成型與安裝等幾個方面。
加工熱鍍鋅方管的價格計算涉及多個因素,包括原材料成本、加工費用、運輸費用、市場需求等。以下是對這些因素的詳細解析,以幫助理解加工熱鍍鋅方管的價格是如何計算的。
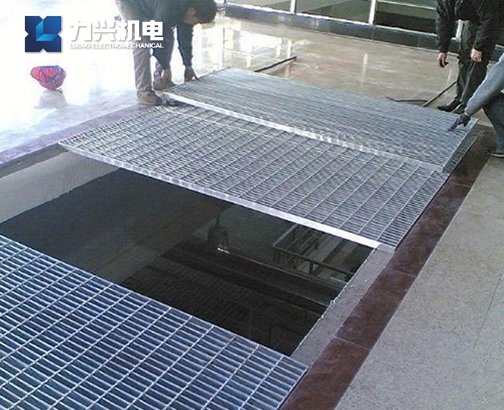
福州熱鍍鋅鋼絲網是一種常用于建筑、工業和農業領域的材料,其加工流程主要包括以下幾個步驟:
熱鍍鋅加工是一種常見的金屬表面處理工藝,廣泛應用于緊固件的防腐蝕處理。對于緊固件加工,長樂?熱鍍鋅加工廠通常有以下幾個方面的要求:
熱鍍鋅角鋼是一種在鋼材表面通過浸入熔融鋅液中形成鋅層的過程。這種工藝主要是為了提高鋼材的耐腐蝕性能。然而,在生產和使用的過程中,有時會發現熱鍍鋅角鋼表面存在有機物雜質

在鍍鋅加工過程中,操作人員的安全是至關重要的。鍍鋅工藝涉及高溫、化學品和重物等多種潛在危險,因此,操作人員需要采取一系列措施來保障自身和他人的安全。以下是一些關鍵的安全保障措施:
在規劃大型熱鍍鋅廠的項目方案時,需要考慮多個關鍵因素,以確保項目的順利實施和長期運營。以下是大型熱鍍鋅廠項目方案的
熱鍍鋅廠對鋼材進行鋅涂層前的酸洗處理是一個至關重要的步驟,它直接關系到鍍鋅層的質量和鋼材的耐腐蝕性能。
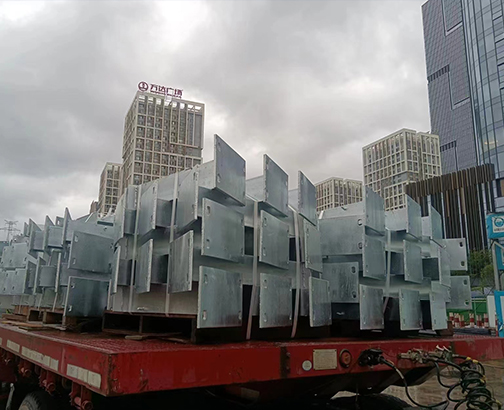
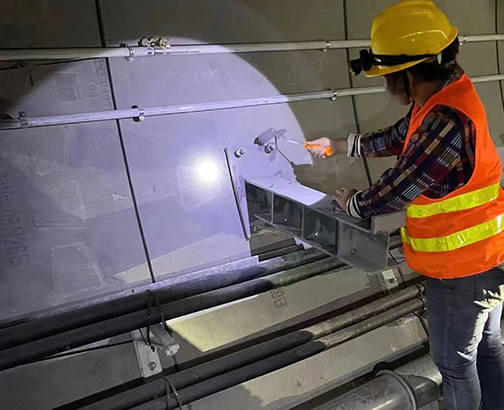
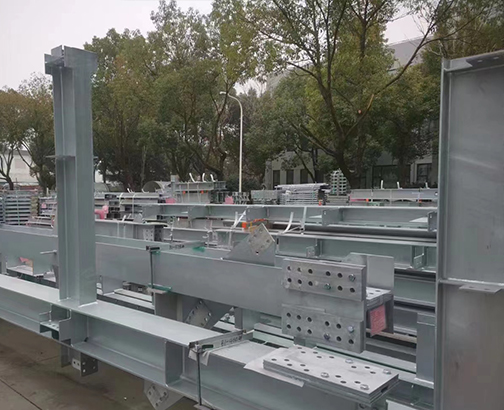
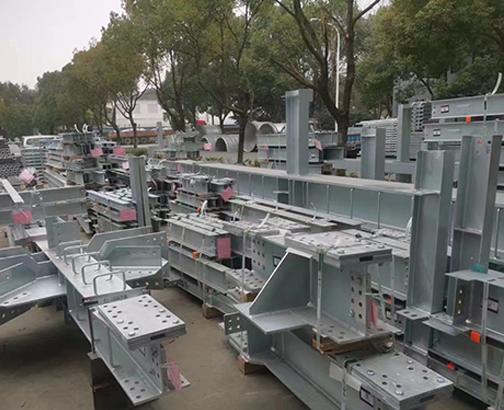
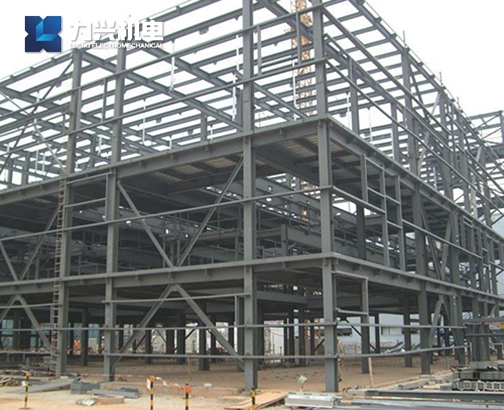
福清鍍鋅鋼結構的拼裝工藝是一項復雜而精細的工程,要求嚴格的技術規范和質量控制,以確保結構的安全性和耐用性。以下是關于鍍鋅鋼結構拼裝工藝的詳細描述:
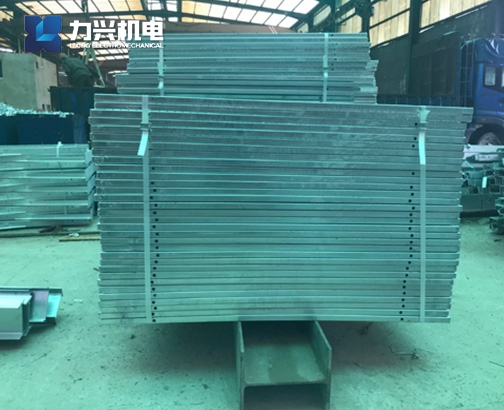
福建熱鍍鋅護欄板是一種用于公路、橋梁等安全防護設施的材料,其工藝流程主要包括前處理、熱浸鍍鋅和后處理三個主要步驟。以下是詳細的工藝流程介紹:
| 公司地址 :福建省福州市長樂區漳港街道山邊村西路666號(長樂公交625路山邊招呼站) 公司郵箱 :135-9997-9935(李經理) 公司電話 :0591-28629596(辦公室) Copyright © 福建力興機電設備器材公司 All rights reserved 備案號: 閩ICP備18022962號-1 主營區域: 福建 福州 泉州 三明 廈門 江西 北京 寧德 上海 杭州 技術支持: |


 閩公安備案號:
 首頁
首頁
 微信
微信
 電話
電話
 短信
短信